Introduction
Welcome to the SalcomAssist platform, incorporating SchoolAssist. This guide explains the day-to-day operation of the SalcomAssist Alert Display, including how to recognise alerts, respond to them, and use the on-screen features.
All Clear State
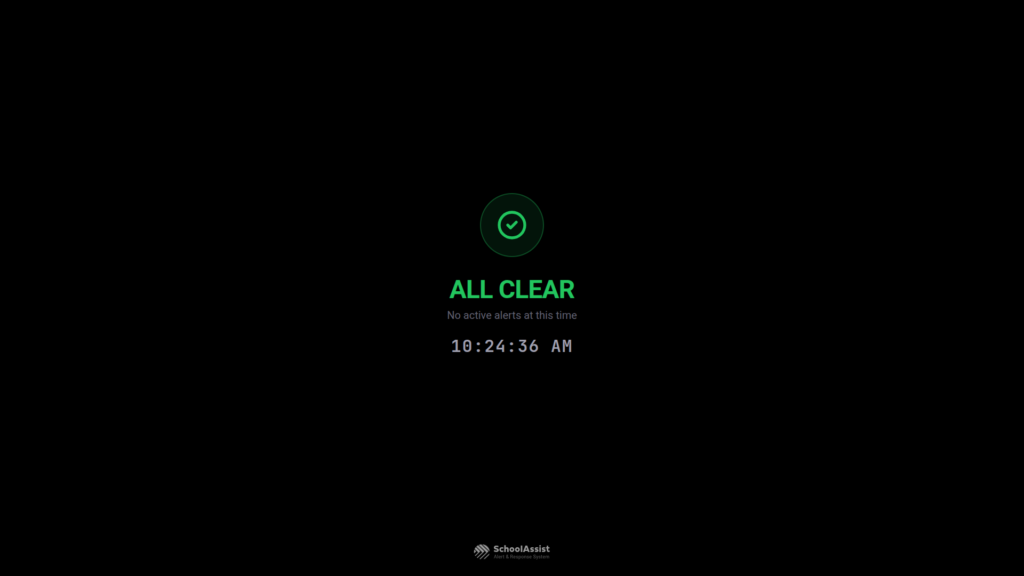
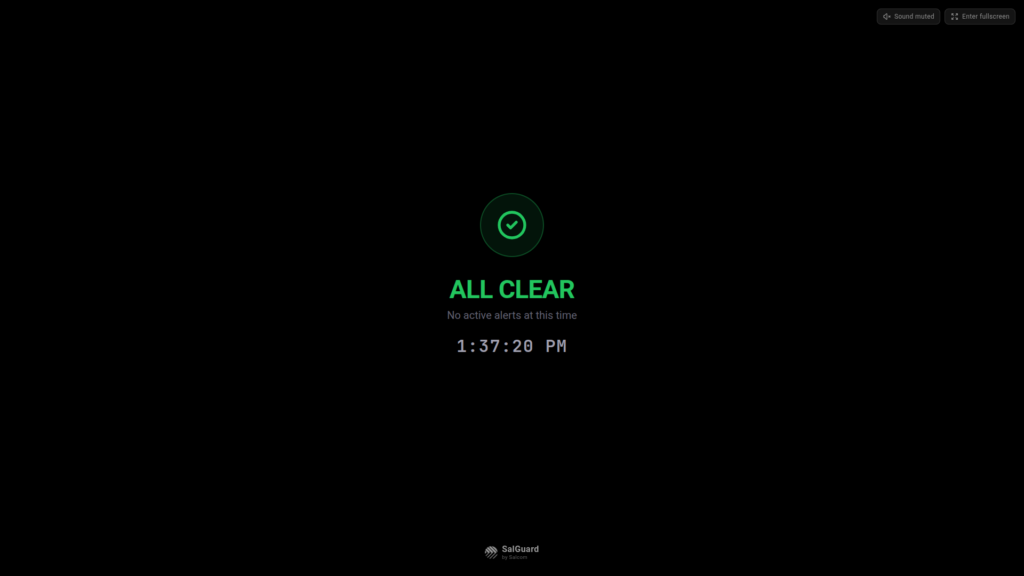
When there are no active alerts, the display shows an “ALL CLEAR” message along with the current time.
Activating an Alert
Activating a Callpoint
To activate a Callpoint, press and release the large red Alert button:
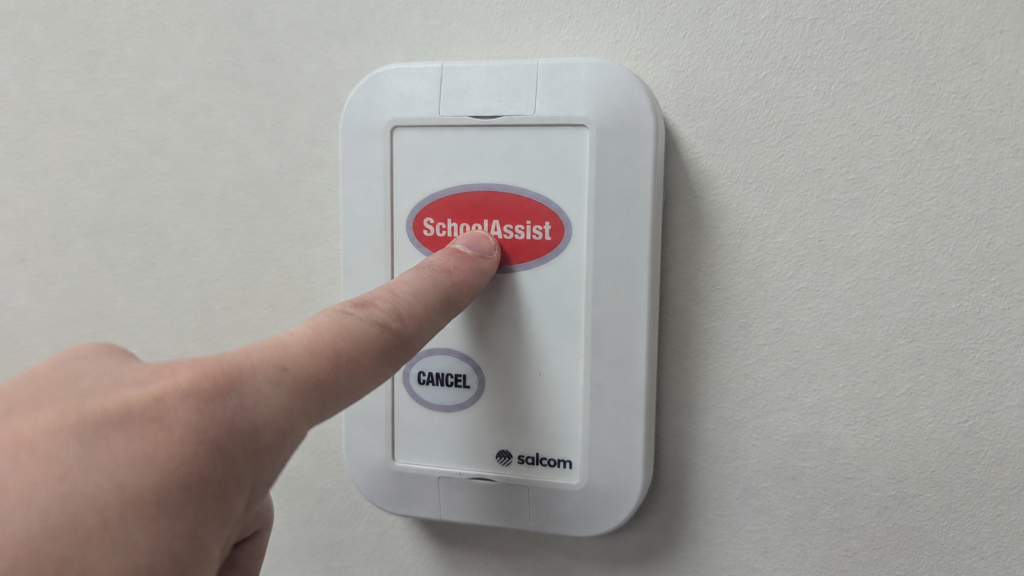
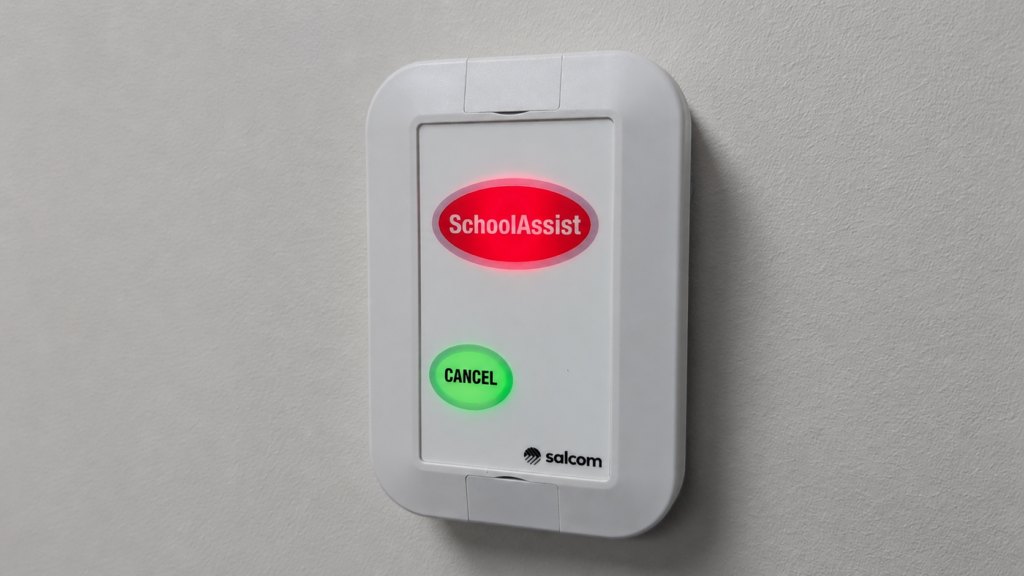
The Alert button lights up red, and the Cancel button lights up shortly after, confirming SalcomAssist received the alert
Activating a Pendant
To activate a Pendant, press and release the large central button:
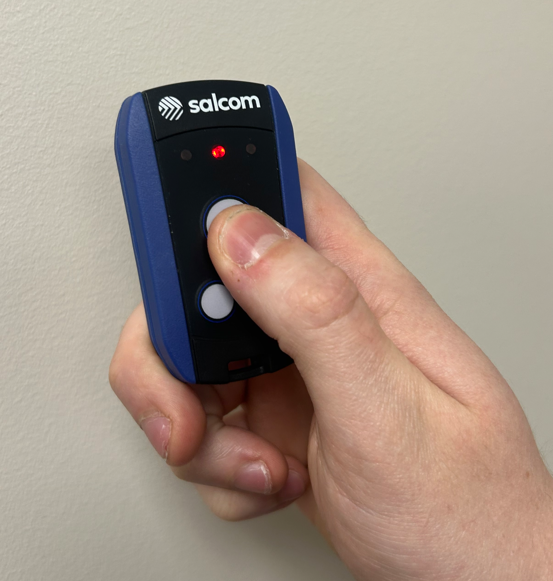
The small red LED above the button will briefly light up indicating your message has been sent.
Activating a GPS Pendant
To activate a GPS Pendant, refer to the GPS Pendants section, below.
Active Alerts
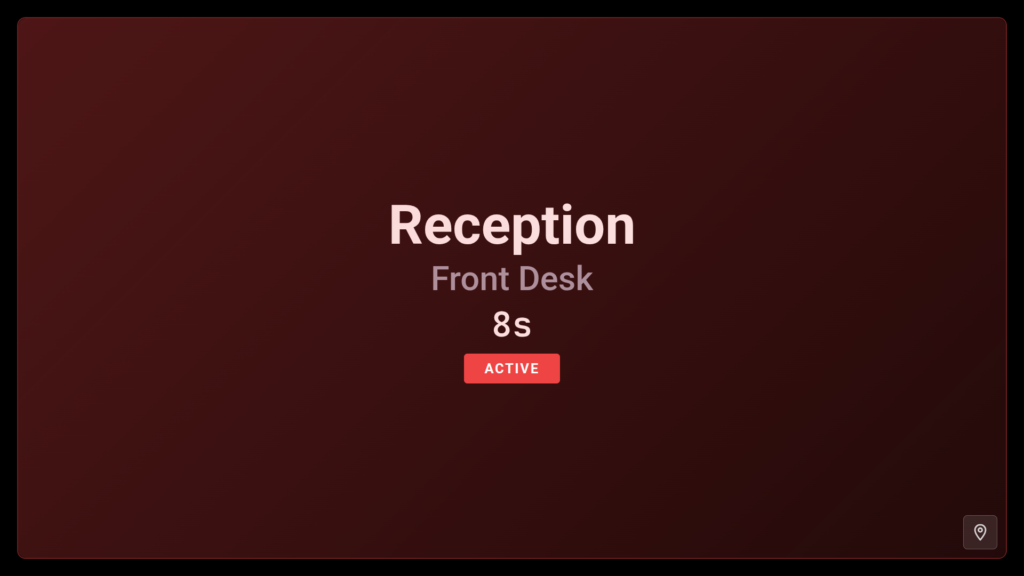
When an Alert Device (CallPoint or Pendant) is activated, the SalcomAssist Alert Display immediately shows:
- Alert Device name
- Location Icon
- Active status
- Elapsed time (how long the alert has been active)
Alert Map
If an Alert Device has been assigned a location on a floor plan, the Map button will appear on the active alert screen:
- A Map button
 appears on the active alert.
 - Selecting the Map button opens a full-screen floor plan.
- The location of the active alert is highlighted with a pulsing indicator.
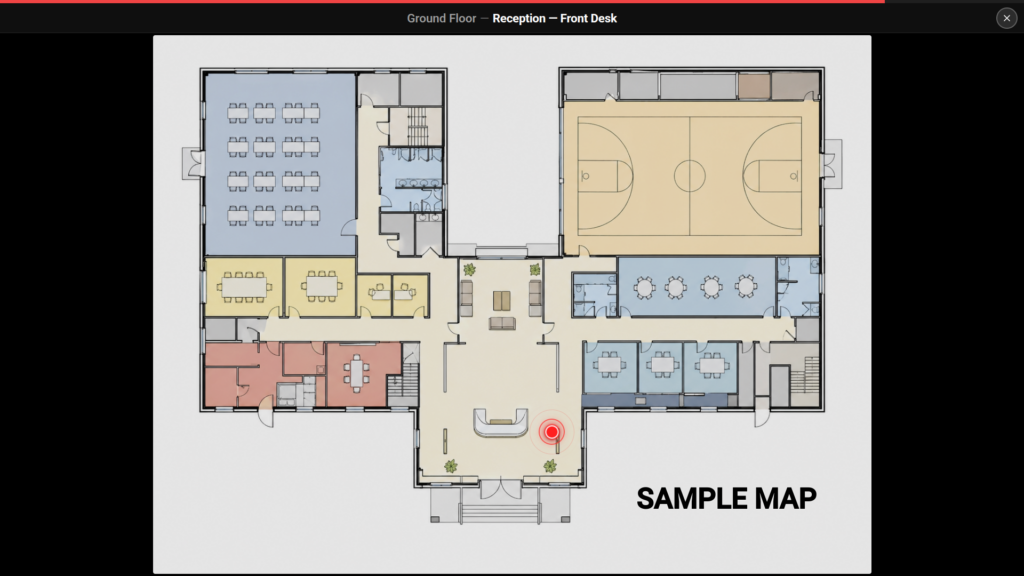
- Automatically close after 10 seconds (with a visible countdown).
- Close immediately when the Close button is selected.
- Allow zooming and panning using a mouse or touch screen.
Multiple Alerts
When multiple Alert Devices are activated they are displayed side by side. Each alert can be managed and cancelled independently.
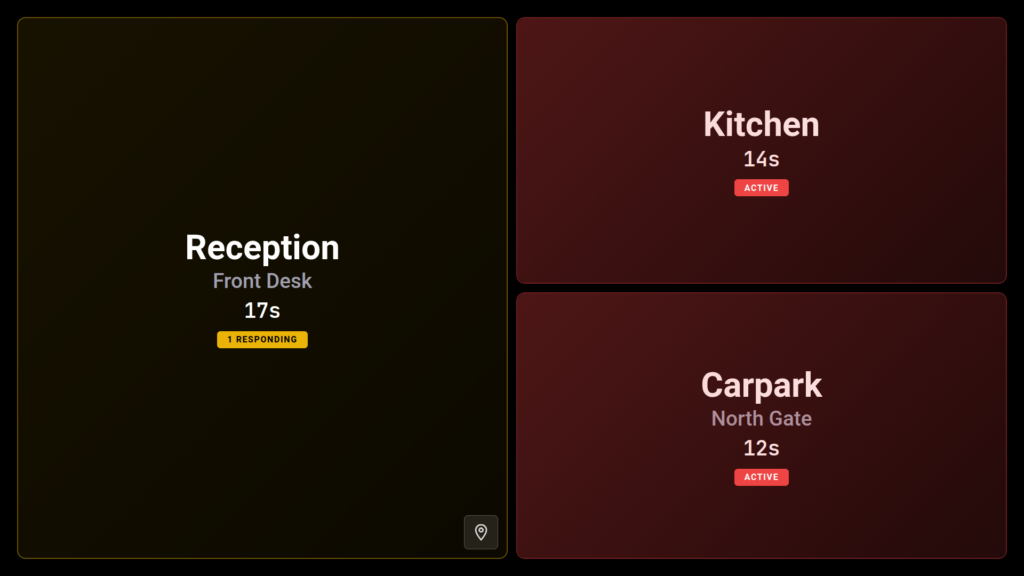
If more than six alerts are active simultaneously, the Alert Display automatically changes to List View to ensure all active alerts remain visible.
Responding to an Alert
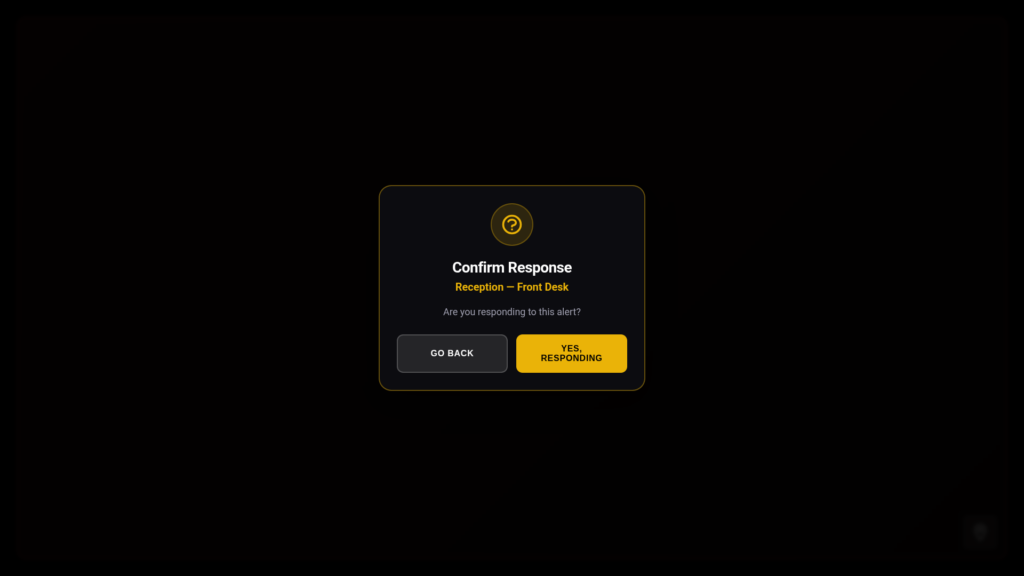
To indicate that you are responding to an active alert, select it and then select select “Yes, Responding”:
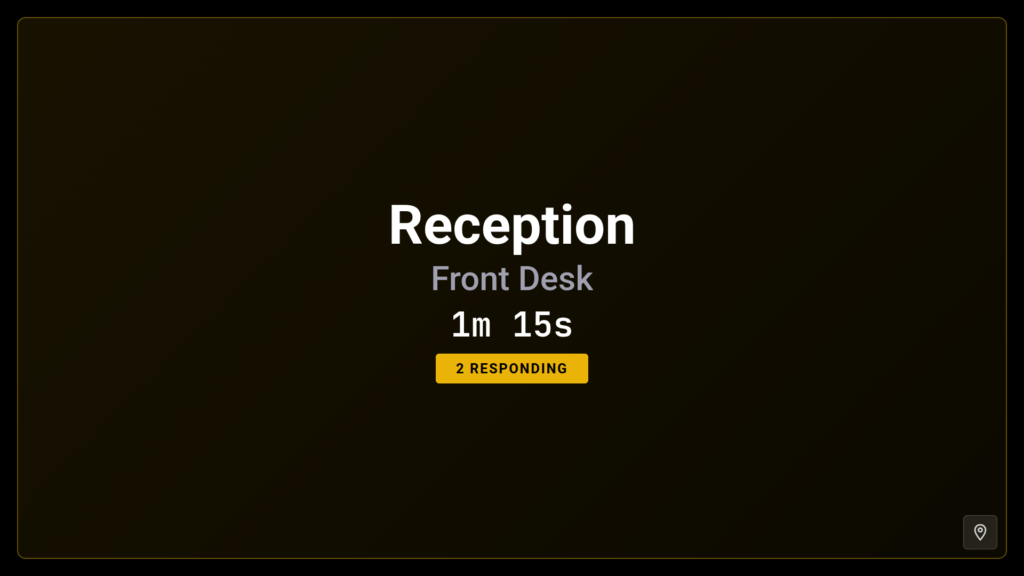
The main Alert Display then shows how many staff are responding:
Positive Response Confirmation
When someone responds to an alert, the Cancel button on that Callpoint flashes green, confirming help is on the way.:
Cancelling an Alert
Alerts can only be cancelled from the Alert Device that originally activated that alert.
To cancel a Callpoint, press and release the CANCEL button on the originating Callpoint or Pendant.
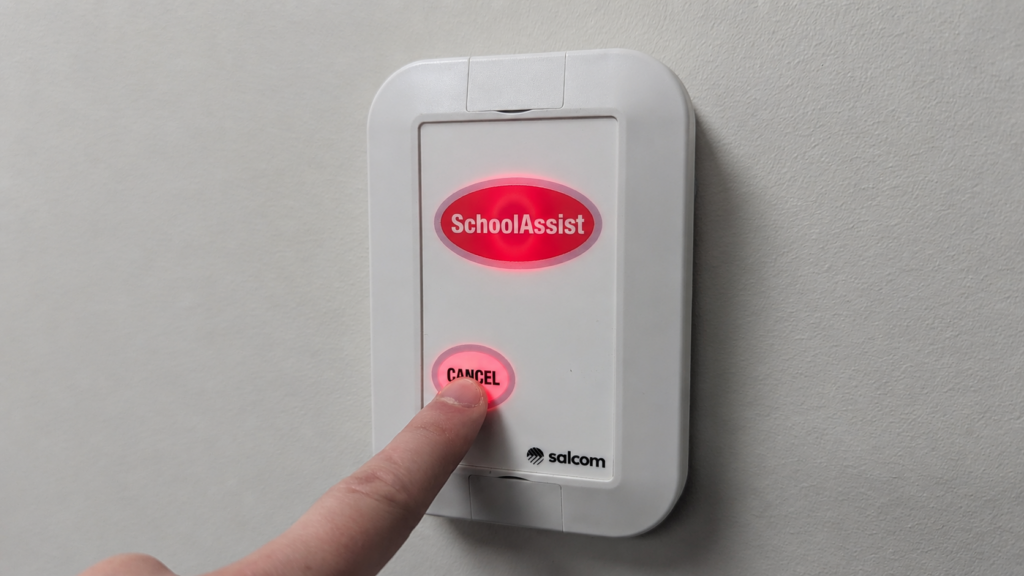
All lights on the Callpoint will then go out.
To cancel a Pendant, press the smaller button in the bottom left:
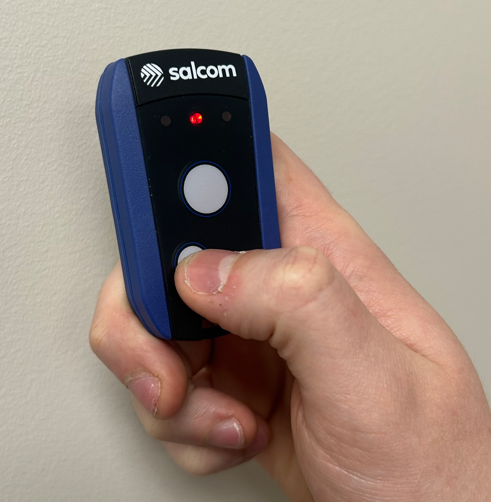
To cancel a GPS Pendant, refer to the Cancelling a GPS Pendant section, below.
If it was the only active alert, the display returns to All Clear.
If others are still active, only the cancelled one disappears — the rest stay on screen.
SMS (Text) Alerts
If SMS Alerting is enabled, whenever an Alert Device is activated SalcomAssist automatically sends an SMS message to nominated recipients containing:
- The Alert Device name and location.
- A direct link to the live SchoolAssist Alert Display.
- Access to the map view to view the alert location.
Recipients can open the link on their phone, while connected to the school network, to view the alert and respond if appropriate.
Important: SMS alerts can be received anywhere with mobile coverage, but the live Alert Display, maps, and response button only work when your phone is connected to the site’s network (Wi-Fi or approved access).
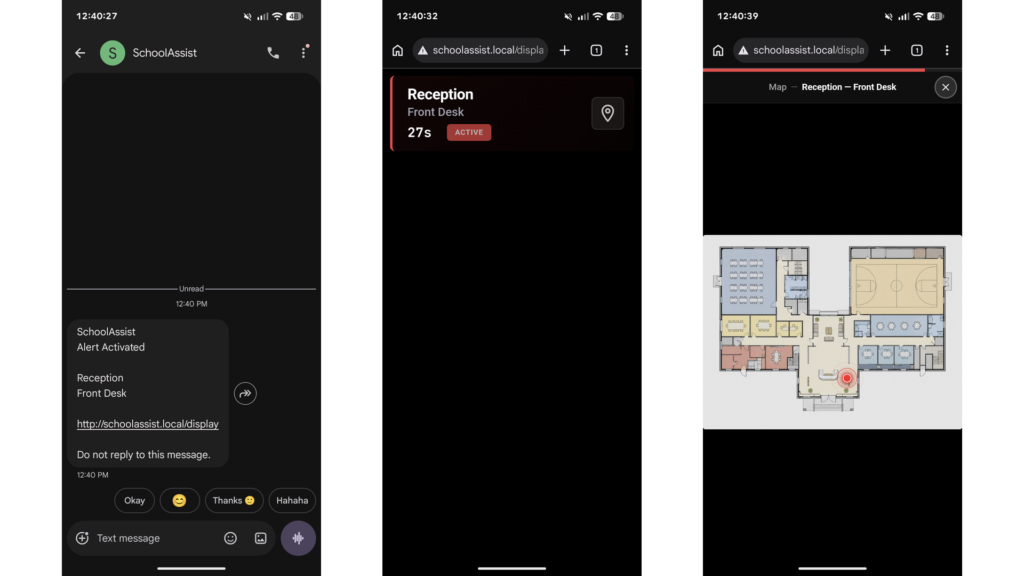
SMS Alert Example
The following example shows:
- SMS alert received on a mobile phone.
- Live Alert Display opened from the SMS link.
- Floor plan showing the location of the active alert.
Suggested Response Sequence
- Receive the SMS — shows the Alert Device name and location.
- Open the Alert Display — tap the link in the SMS.
- Check the floor plan — locate the alert and assess your proximity.
- Respond if appropriate — if you’re best placed to help, select Responding and follow your school’s procedures.
- When the alert is cancelled, SchoolAssist automatically sends a follow-up SMS confirming that the alert has been cleared.
Tip: Save the number your first SchoolAssist SMS comes from as a Contact named “SchoolAssist.” You can then set a custom alert tone for it, so you can easily recognize a SchoolAssist alert without checking your phone.
GPS Pendants
When support for GPS Pendants is enabled, SalcomAssist works with Salcom-supplied GPS pendants that can:
- Report their location when activated
- Support basic voice communication using their built-in 4G mobile phone
NOTE: GPS Pendants need 4G mobile coverage and a SIM with credit to work.
Activating a GPS Pendant
To activate a GPS Pendant, press and hold the large central button for 1-2 seconds until the pendant begins to vibrate, and then release the button:
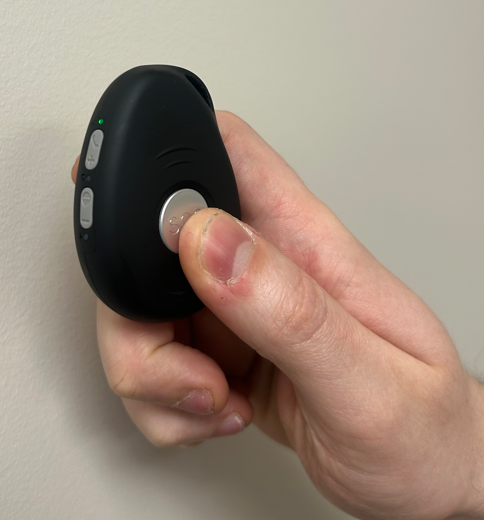
The pendant will determine its location using GPS and then send an alert to SalcomAssist, which can take 10-20 seconds.
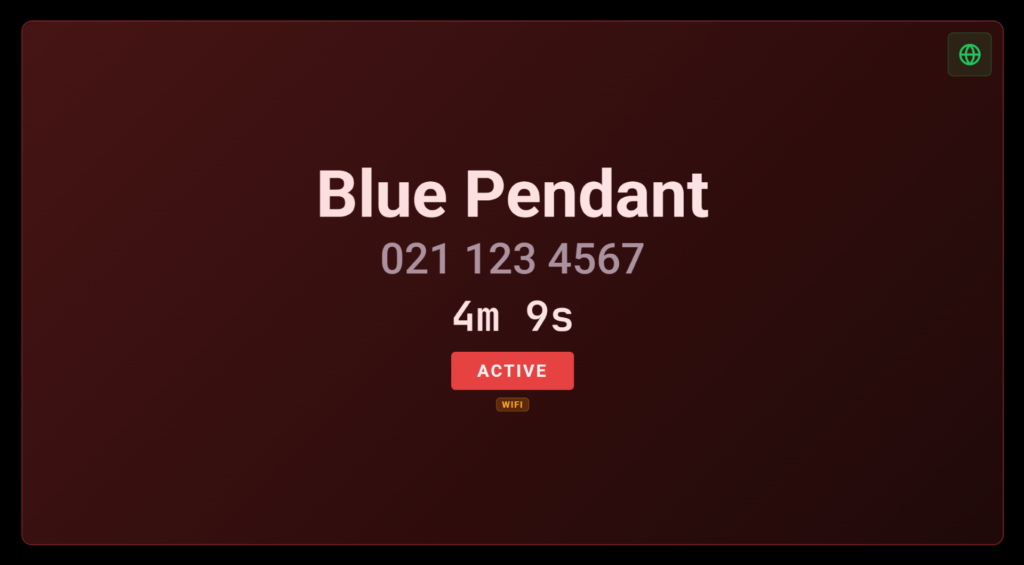
Once the alert is received by SalcomAssist, it will appear on the Alert Display including:
- GPS Pendant name
- Pendant’s phone number (so that you can call it directly if required)
- GPS location icon
- Active status
- Elapsed time (how long the alert has been active)
Viewing GPS Pendant Location
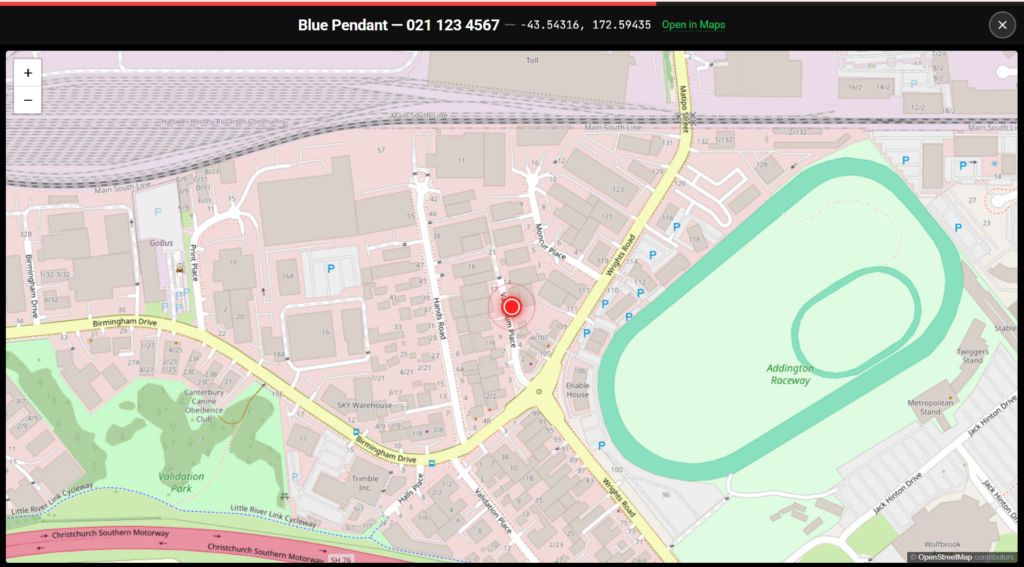
Tap on the green Location Icon in the top right corner to view the location of the GPS Pendant on a map of the local area:
Tips for using GPS Pendants:
- When the map above appears, tap the green ‘Open in Maps’ link for directions to the Pendant’s location in Google Maps.
- If you’re also using SMS Alerting, the alert SMS that is sent when the pendant is activated includes it’s phone number — simply tap the phone number in the SMS message to call the Pendant directly.
Cancelling a GPS Pendant
GPS Pendants do not have a Cancel button, and so any alerts triggered by them must be cancelled by your SalcomAssist site Administrator.
Low Battery Notifications
SalcomAssist continuously monitors CallPoint Alert Device batteries, and supports manual checks for Pendants.
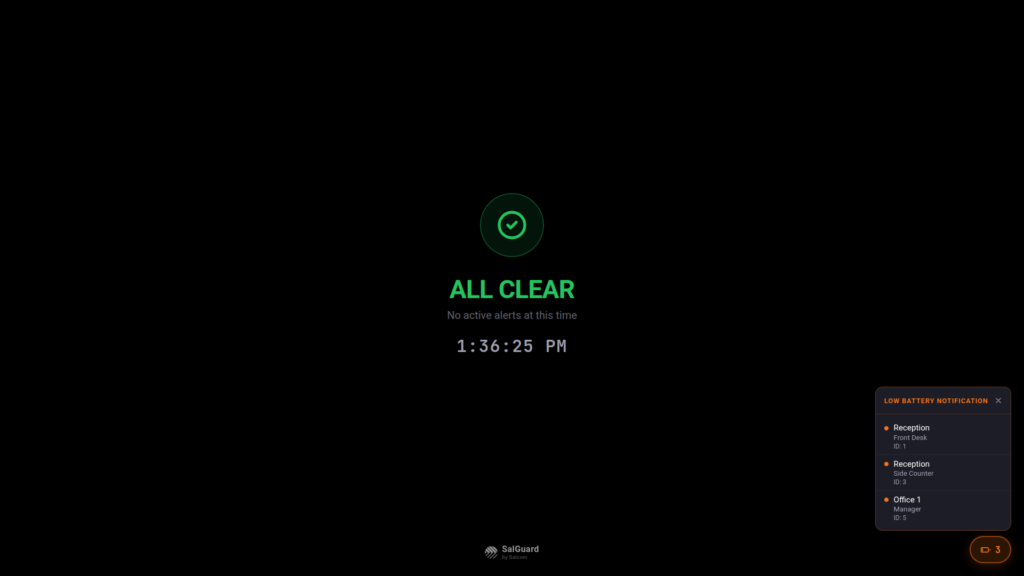
A Low Battery icon appears in the bottom-right of the All Clear screen when a device needs attention: select it to see the list of devices requiring new batteries.
This lets school staff replace batteries as routine maintenance, without needing a contractor visit.
Sound
An audible alarm plays when an alert is triggered. The sound changes once someone marks the alert as responding.
If audio is muted by the browser, a “Sound muted” indicator will appear in the top right of the All Clear screen: Select this to enable sound.
Full Screen Mode
To maximise the size of the All Clear screen, select the “Enter Full Screen” button in the top-right corner. You can also tap or click anywhere outside an active alert card to enter or exit Full Screen mode.
When in Full Screen mode, the mouse cursor automatically hides after 3 seconds of inactivity, but will reappear if you move your mouse.
Attention Required
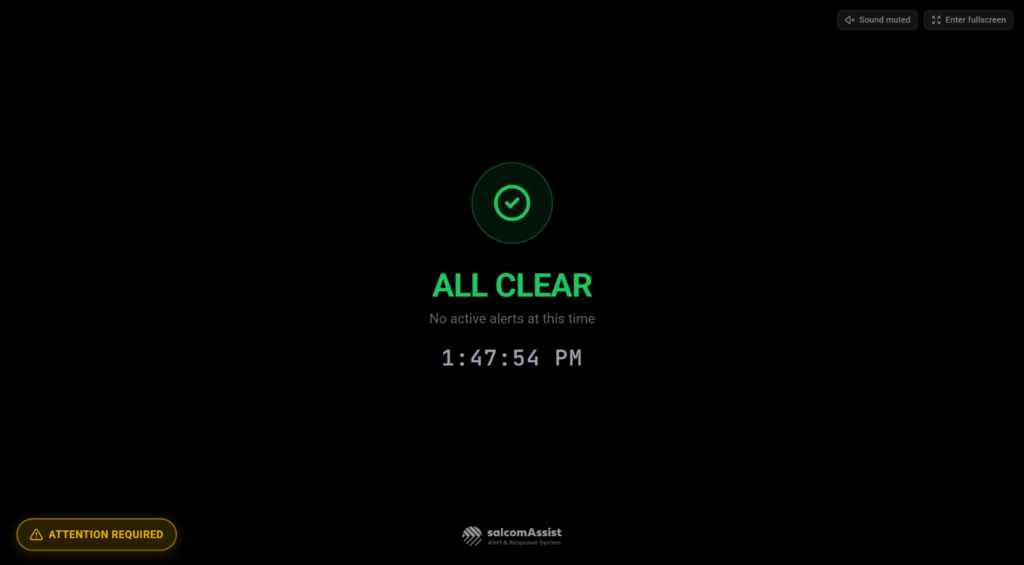
SalcomAssist continuously monitors the CallPoint and Pendant Alert Device network. If a problem is found, “Attention Required” appears in the lower-left corner of the All Clear screen. If this appears then a SalcomAssist site Administrator should log in to investigate.
Connection Lost
A “Connection Lost” message will be displayed if the Alert Display temporarily loses connection to the SalcomAssist server:
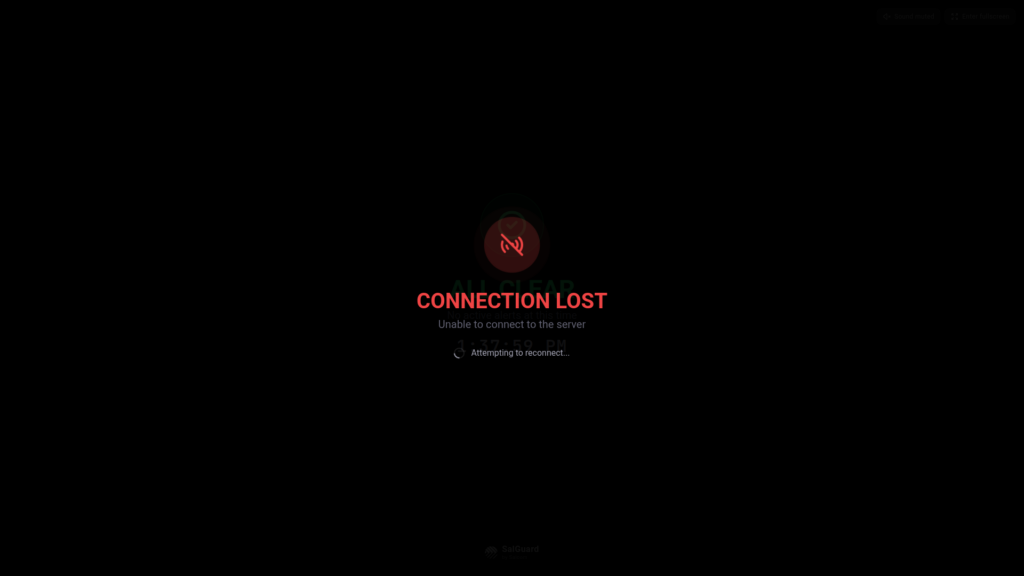
The Alert Display will automatically return to normal operation once the connection is restored.